 Hatching out chicks using an incubator is not quite the same thing as the natural way under a hen. An incubator tries to mimic what a mother hen would do but it is never quite the same in every way. A mother hen instinctively knows what her little chick needs in order to hatch successfully.
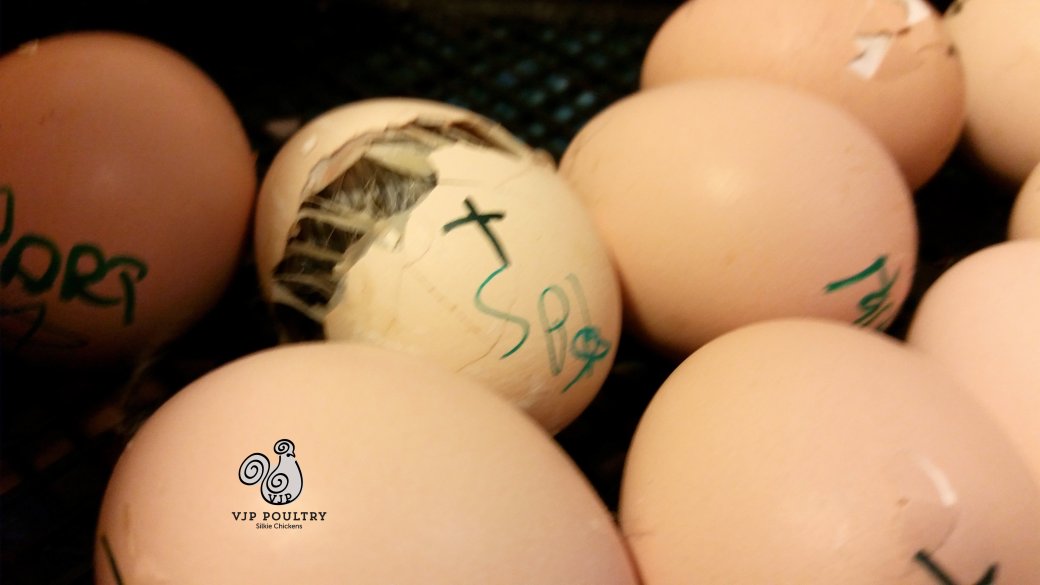
There have been many times when I have looked at a chick struggling to escape it’s shell and wonder whether or not it needs my help. We all have heard that you should not lift the lid of the hatcher and let the humidity escape. I admit that I lift the lid quite a bit taking chicks out and rolling the eggs right side up when they are knocked around. I always spray water on the sides of the hatcher afterwards to bump the humidity back up. Sometimes I see a chick that has started to zip but has then stopped and I wonder if I should do something to help it.
The main reason people think it is okay to help hatch is because they believe that once a chick pips, it is ready to hatch. This is not true. The need another 12-24 hours to be able to survive outside the egg. Sometimes people think that the bird will suffocate inside the egg, but that is not the case either.
The hatching process starts when the air cell changes shapes as the unborn chick, using the egg tooth, punctures the inner shell membrane and enters the air cell. The egg tooth is used to begin unzipping the egg shell in a circular manner at the large end of the egg.
This starting of the hatch occurs partially from the increased carbon dioxide level in the egg. This causes the embryo to begin twitching it’s muscles, allowing the inner shell membrane to be punctured by the egg tooth. The chick then begins breathing the air in the air cell. As the carbon dioxide level begins to rise again, the muscles at the back of the neck begin twitching again. The abdominal muscles also begin twitching which helps draw the yolk sac into the chick’s body. The leg muscle twitching helps strengthen the chick’s legs.
Normally, the chick will hatch 24-48 hours after puncturing the inner membrane. If you try to help by making a pin sized hole in the egg shell over the air cell, the carbon dioxide level will drop, which slows the hatch down. Making a pin hole or opening up the air cell should only be done if the peeping noise level of the hatching chicks is decreasing. Most people start out helping far too soon and end up with a chick that has a yolk sac hanging from its belly.
When a chick begins to hatch, the yolk sac is still out of the body. Over the next 12-24 hours, the chick pecks his way out and moves around inside the shell. The blood that is in the vein system against the shell wall pulls slowly into its body. The yolk sac will also slowly pull in to the chick’s body. If you help a chick and the membrane bleeds, you know his yolk sac is still out and you should not take him out of his shell. Once the membrane no longer bleeds as you remove the shell, you can be sure that the yolk is absorbed and you can help the chick out.
Of course, it is best not to interfere in the hatch and help in most cases. Silkies are a little bit different from other breeds of chicks in that they often have skull vaults. These vaults can be so large that they can get in the way of the silkie trying to turn in a circle to zip around the egg.
Sometimes I will see that a silkie has pecked a large hold where it first pipped and cannot turn to complete the zip. I wait until it is clear that the chick is stuck and then I will start chipping the egg shell away. If I hit blood, I stop and wait. Then I try again later in the day.
Another time I will help out is if the silkie has zipped all the way around but isn’t able to push out of the egg. This can be due to a humidity level drop. The membrane dries and it become tougher to break through. I will break the dried membranes and help it to escape.
When I first started helping, I lost many chicks because I started the process too soon. You must have patience. They are safer inside the egg than outside the egg. Good Luck in all of your silkie hatches.
For tips and tricks for raising outstanding silkies check out our Chicken Learning Center at VJPPoultry.com . VJP Poultry is an NPIP and state inspected hatchery located 30 miles north of St. Paul. We hatch out silkies all year long so we always have stock available. Like us on Facebook to get weekly updates on what we currently have for sale.
Victoria J. Peterson
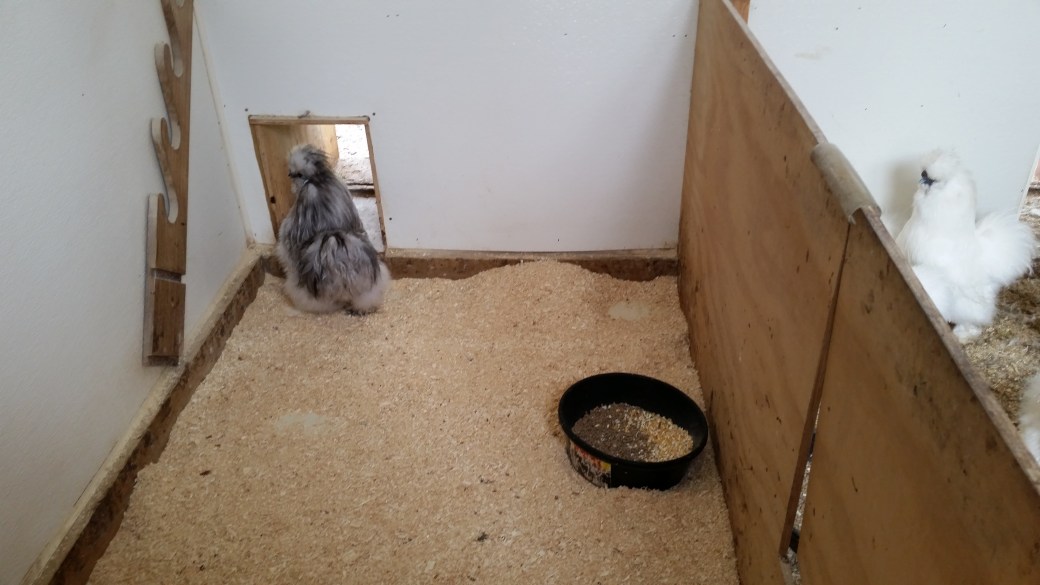 Cleaning coops is an important job that must be done on a consistent basis. A clean coop keeps your silkies happy and their feathers cleaner looking. The eggs stay cleaner as well. Your neighbors are pleased and are more tolerant of your backyard flock. Its a win/win situation for everyone.
