Feed and Treats For Adult and Juvenile Chickens.

best
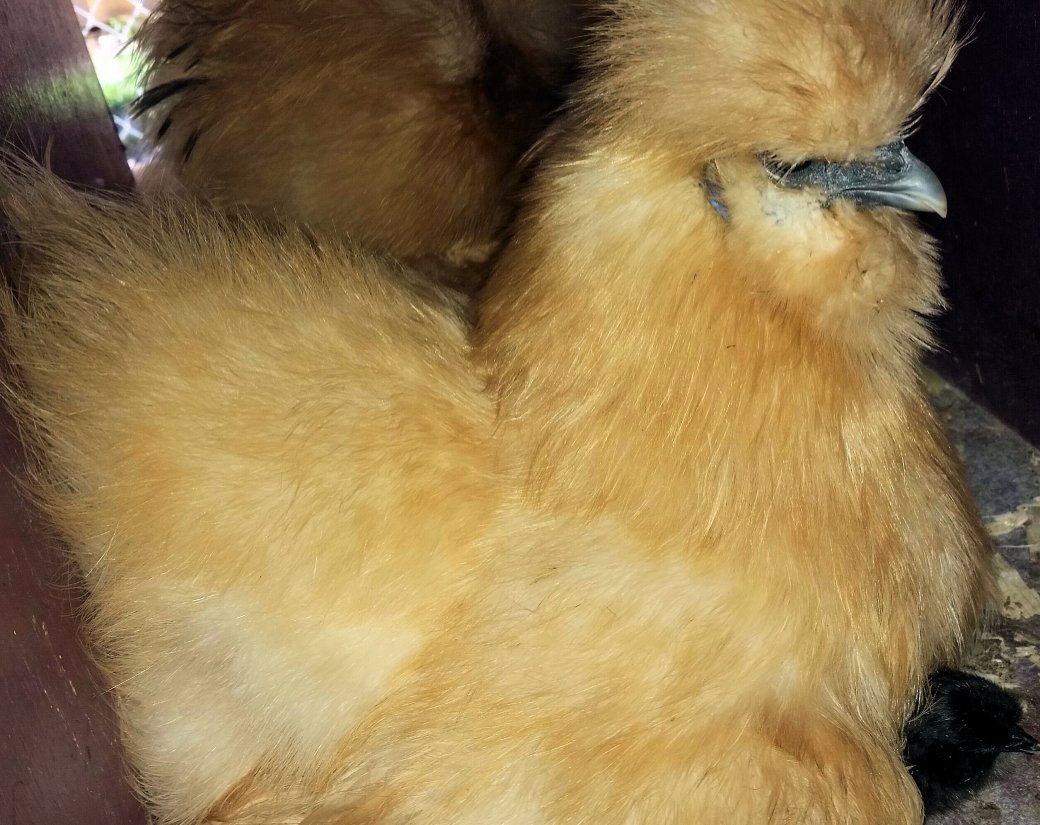
Chickens are Omnivores.  They are opportunistic eaters.  They will eat foods of both plant and animal origins.  They love treats and are easy to spoil. What they are fed can make a huge difference in their egg production, reproduction ability and overall lifespan length. It is important that they are given foods that have good nutritional value and are natural for their behaviors as chickens.

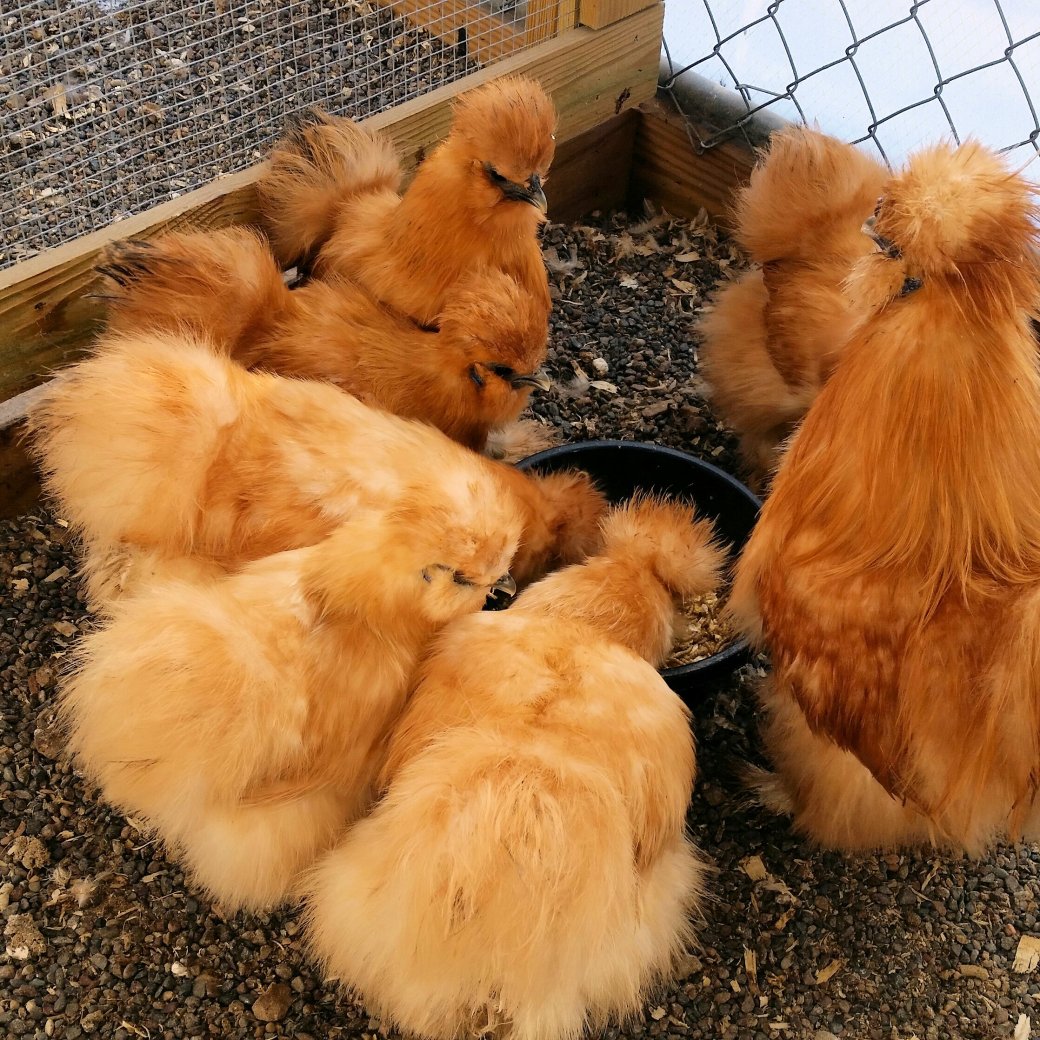
When chicks are little they eat Chick Starter as their main source of food.  At around 10  weeks they can begin Grower Feed. This feed is around 16% protein and is designed to sustain growth all the way to maturity. Gamebirds will need a higher protein content such as a Gamebird Conditioner feed.  I feed my silkies Gamebird Conditioner which has a protein content of 20%. If you are raising meat birds they will need their own separate Meat Bird Grower Crumble for fast growing birds. They require a protein content of 20-24%.  The basis of any good chicken diet is a high quality poultry pellet or crumble. Most if not all of its nutritional needs should come from that feed. It is complete and balanced and does not need anything added to it for optimal development of the bird.

Layer feed can be given once the pullets have begun laying eggs. It should not be given before that time as the higher calcium content can cause damage to their kidneys as they are not using the calcium for eggshell development.  Layer feed should not be given to roosters as it can be detrimental to their kidneys as well. Layer feed is designed to provide optimum nutrition for birds laying eggs. It contains 16% protein and increased levels of calcium for proper shell creation. Average laying hens will consume 1/4 pound of feed per day depending on the size of the bird, weather conditions and level of productivity.

Another type of feed is All Flock.  It is designed for adult birds but does not contain the added calcium.  You can feed it to a mixed flock of ducks, geese, turkeys and chickens. When feeding this to laying hens, you will need to offer some Oyster Shell in order for them to get the needed calcium for shell development. Offer it in a separate bowl from regular feed and the hens will eat it as needed.

Scratch is a mix of cracked rolled or whole grains such as corn, barley, oats or wheat.  It is low in protein and does not provide balanced nutrition such as a commercial feed would. However, as the name implies, it is food that is thrown on the ground and the chickens get to scratch around in the dirt for it. Scratching for food is a very natural behavior for chickens and is a good form of exercise for them. Only feed them as much scratch as they can totally consume in 20 minutes.

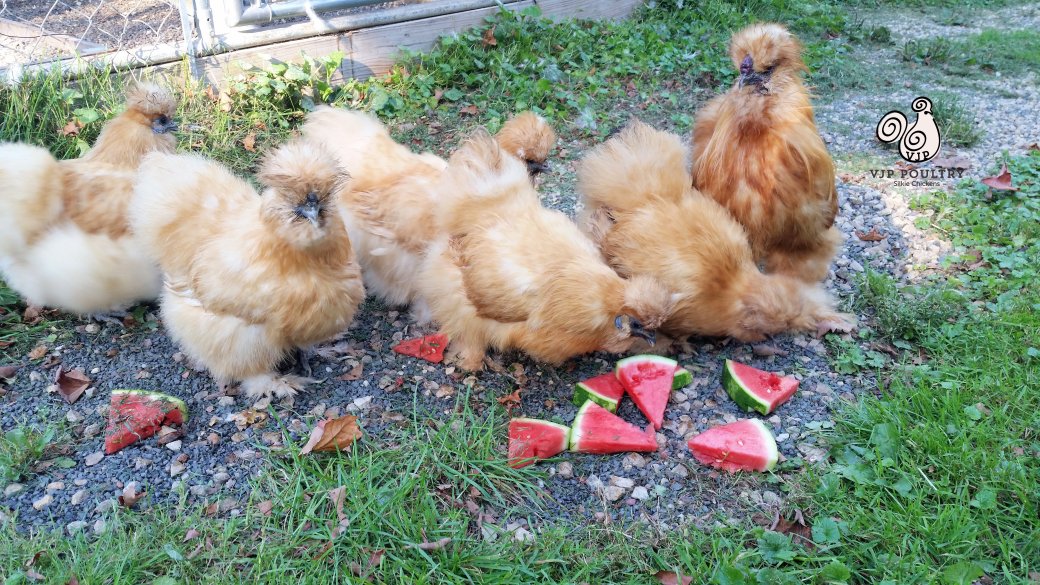
Table scrapes are routinely given to chickens but should be thought of as a treat.  Most food scrapes are fine but some are better than others. Feed bread in moderation as it has little nutritional value. Cat and dog food are sometimes given during molting because of the high protein content. Citrus is usually frowned upon as it may interfere with calcium absorption and cause soft egg shells. Dairy products should be fed in moderation as chickens have a hard time processing large amounts of dairy. No dry beans or uncooked rice.  Watch out for too salty or fatty foods.

Allow your chickens to free range and forage for food when you can.  They love looking for bugs and green plants and the adventure of finding them. Do not feed your chickens grass clipping as this can cause impacted crop. Always provide commercial feed for them. They will not find enough food free ranging in a typical suburban yard.

One way to tame and bond your chicken to you is to occasionally give it some treats.  There are many commercial treats available. Grubblies and Dried Mealwormsare natural insects that have been freeze dried or oven baked.  A poultry Flock Block can be placed in the coop and left for the birds to gradually peck away at it. A poultry Suet Block is made mealworms and sunflower seeds. .  Happy Hens Treats, Kaytee mealworm , and Manna Pro Harvest Delight are all good commercial treats.  As a boredom buster use a treat ball to entertain and provide treats for your chickens.

Too much of a good thing can always be a problem.  Chickens can become obese and develop fatty liver disease. Keep treats down to 20%  or less of their regular diet. Make sure that their commercial feed is always available to them especially before evening. You want to make sure that the chickens go to bed with a full crop which not only keeps them warm but aids in the nightly development of the egg.


For tips and tricks for raising outstanding silkies check out our Chicken Learning Center at VJPPoultry.com .  VJP Poultry is an NPIP and state inspected hatchery located 30 miles north of St. Paul.  We hatch out silkies all year long so we always have stock available.  Like us on Facebook to get weekly updates on what we currently have for sale.

Victoria J. Peterson

20180907_165826


Feed and Treats For Baby Chicks

20180123_140427-1The sooner you start your baby chicks with good nutritional habits the better off they will be their entire lives. Typically we are told that baby chicks don’t need anything to eat or drink for about 48 hours after they are hatched. They will be getting sustained by the yolk of the egg which they absorb into their bodies just before they break through the shell.  This is why they can be sent by post office from hatcheries with nothing to eat or drink in their boxes. Research is now showing that chicks that are given food and water immediately after hatching have a better chance of survival and better growth. Yes, they can survive without food or water for the first few days but it is much better if they are given the opportunity to eat and drink right away.

Chick Starter is the ideal food for baby chick’s first week and should be the sole ration. Feed companies spend lots of time and money researching and preparing mixtures that provide optimum nutrition for growing chicks. Chick starter has sufficient protein, carbohydrates and vitamins to support growth. Chick starter should be given for at least the first six to eight weeks and can actually be given to adult birds as well.  Do not try and mix your own feed at this point as it is crucial that baby newborn chicks  have the nutrients they need to grow.  If you get caught without chick starter when your chicks hatch, you can mash up hard boiled egg yolk with ground up oatmeal as a temporary substitute.  Don’t give treats until they are very familiar with what the chick starter looks like. smells like and tastes like.

There are two types of chick starter, medicated and nonmedicated.  Medicated chick starter comes with medication to prevent coccidiosis, an intestinal disease that interferes with nutrient absorption. If you keep your chicks in a clean brooder and do not let them have contact with adult birds or the ground, they do not need to have the medicated chick starter. If you brood a lot of chicks (over 50) and it is hot and humid outside, then you might consider getting the medicated chick starter.  Do not give them the same food that your adult chickens eat. They need a high protein food which has a protein level of 20%.

Start by sprinkling chick starter on top of a paper towel in order to encourage pecking at it.  You can then move to a chick feeder. I like to use red colored feeders as the color red stimulates the chick and encourages pecking.  If your chick does not seem to be eating and drinking, dip their beak into the water and then again into the food. If a chick is not eating or drinking it will feel lighter than the other birds.  I also like to grind up the chick starter into smaller particles using a coffee grinder. They seem to like it better when the pieces are smaller.

I also add vitamins, probiotics and electrolytes to the newborn chick’s water. Rooster Booster  is a great product for these additives.  I also had a little apple cider vinegar (with the mother) to their water for overall good health.

When you are ready to add treats to your chicks diet, make sure that they are healthy treats. Good examples would be foods like fruits and vegetables, high protein, whole grains, low sugar, and low salt products.  If chicks are given anything besides chick starter, they will need grit (sand) to aid in digestion.  Chick starter is digested by saliva but other foods require grit for grinding in the gizzard since the chicks do not have teeth.

At this age they should have chick grit, not adult grit which would be too large for them. Sprinkle the sand on top of their food as if you were sprinkling salt on something. Do not place it in a separate dish but put it right on the food to make sure that they are getting some.  Grit is not the same thing as Oyster Shell. They should not be given oyster shell at all as too much calcium will cause organ failure.

The first treats that I give are mashed hard boiled egg yolk and ground oatmeal. I grind the oatmeal in a coffee grinder.  It will almost look like powder.  After that I might move on to sweet corn. I grind that up in a food processor.  Whatever you give to them must be in small pieces. I also like to take  carrots and grind them up in the food processor. Leafy greens must be very processed and in tiny pieces. You do not want the chick to develop crop issues.

Some people like to give unflavored yogurt to chicks. I have found it to be very messy and being a dairy product, I would not give them too much of it. It can cause stomach upset. Probiotics are a good choice for gut health instead.

Older chicks can be given Chick Sticks or mealworms for a treat.  You can also begin giving scraps from your dinner table as long as the pieces are small and grit is sprinkled on top.

When chicks eat treats they are not eating commercial feed which should be their main source of nourishment. Treats should only be 5-10% of a chick’s diet. Anything that you add to their diets can dilute the nutrient balance of the commercial feed. Even healthy snacks should be given in moderation. A chick’s growth and immune system can be affected by too many treats which can create an imbalance in nutrients.

When chicks are around eight weeks old they can move on to Grower feed. Start by mixing the two together 50% chick starter and 50% grower feed. Don’t save your chick starter for the next time you have chicks. It will grow moldy and be harmful for the chicks. Use it all up. It is ok for them to be eating it at any stage of development.


For tips and tricks for raising outstanding silkies check out our Chicken Learning Center at VJPPoultry.com .  VJP Poultry is an NPIP and state inspected hatchery located 30 miles north of St. Paul.  We hatch out silkies all year long so we always have stock available.  Like us on Facebook to get weekly updates on what we currently have for sale.

Victoria J. Peterson

20180828_175257-1

Building a Coop for Silkie Chickens

20180527_124135-1
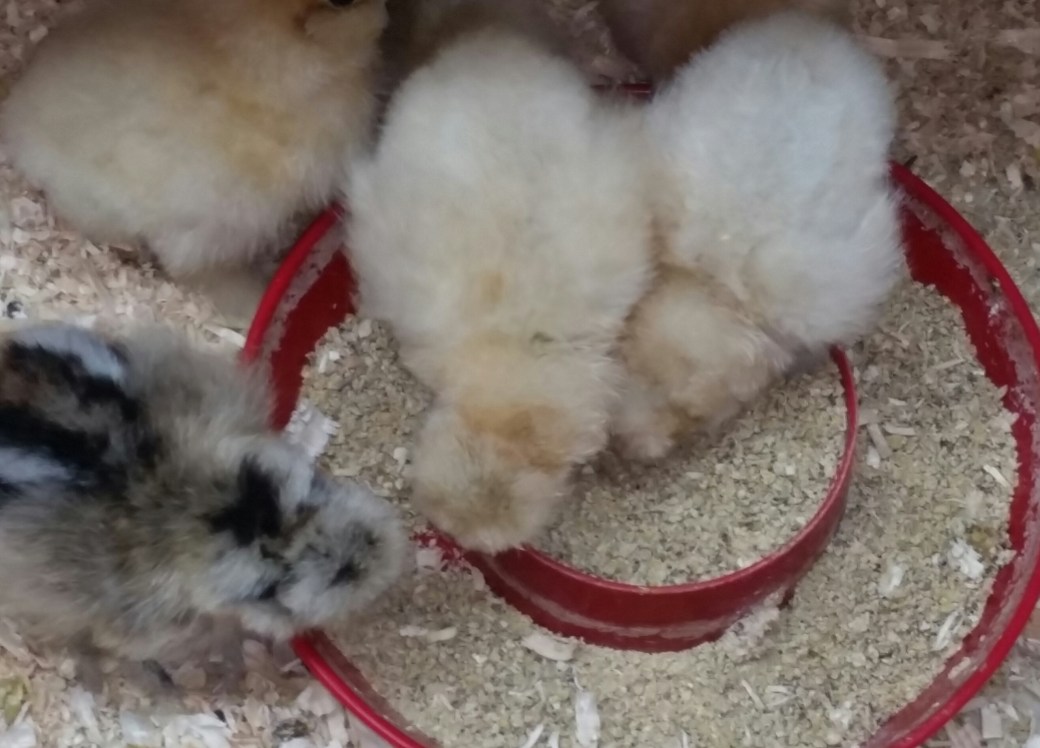
Silkie chickens have slightly different requirements when it comes to housing.  Silkies are different from other breeds of chickens in several ways and these differences can be reflected in the type of coop you end up designing or purchasing.  The only chickens we have at VJP Poultry are silkies so we are always thinking of ways to improve housing with their uniqueness in mind.

The first coop we had was a refurbished ice house. This worked perfect for our needs. It was built very sturdy and was well insulated for winter. We added electricity out to it, put in nest boxes and roosting poles and had a ramp going down to a chain link fence enclosed run.  We had a variety of breeds of chickens to start out with but I really fell in love with the silkies.   I found that the silkies did not “fly” up to the roost pole with the others but would sleep on the floor directly under them. The next morning they would be covered in poo from the roosting birds above them.  They also did not use the nesting boxes, but preferred to find a corner on the floor in which to lay their eggs. Silkies go broody often but can’t fly up to nesting boxes that are very far off of the ground.

In a few years we found a second ice house to refurbish as we continued to expand our chicken habit. By now we only had silkies in our coops. We did not bother putting in a roosting pole or nesting boxes.  We made sure that the ramp to the ground was a long gradual incline.  Silkies do not like high ramps, especially with their eyesight often being blocked by feathers.  I find it best to trim above and below the eyes so that they can find food and water.

The third coop we built ourselves. We overbuilt it, but I was glad that we did. It is very sturdy and tall. There is a long walkway inside with four sections of divided pens. Everything is easily stored inside of the coop, such as food, bedding, brooms and assorted tools. It has electricity.  The pen walls and floor are painted with industrial enamel which is super easy to keep clean. The other coops had plastic sheeting on the floor and sides. I scrubbed them weekly but they eventually started to come away from the walls.  The enamel paint is much easier. A silkie pen needs to be kept neat and tidy. You want them to be looking at their best and poo stains are not attractive.

Now we are building our fourth coop and using all of the information gained from the other coops, we are able to have the best silkie coop possible. We started by making the floor of the coop. You want to make it up off of the ground but at the same time as low as possible for silkies. They have a hard time with steep inclines, so the ramps need to be long and low.  Next the walls were built and the roof rafters put on. We put on a metal roof with a steep slant. We want the snow sliding easily off.  The roof has long overhangs.  In the future we will put on gutters.  Silkies do not do well in the rain. Their fluffy feathers do not let water bead off of them. When they get wet, they look drenched.

We installed windows up high, so that there is plenty of air movement. Silkies do not do well with drafts so you want that air moving up above them.  Ventilation is very important to the health of your birds. I keep windows open at all times. Use hardware cloth stapled over the window screens to keep predators from making their way inside.

When making the run, you will want to lay down hardware cloth on the inside and as a skirt around the outside to keep digging predators from making their way in. We piled gravel on top of the the hardware cloth and placed pea rock on top of that.  Silkies have beautiful feathered feet. You want to protect those feathers by having soft bedding or even using dirt or sand in the coop or run.  Large rocks can often break off foot feathers, so use as small of rock as you can.

20180603_113021

We covered the run with a metal sloping roof.  Hawks can be a big problem for silkies. They are small enough to be lifted and taken away. Their crests are large and impedes their ability to look up.  Even their coloration can make them a standout when free ranging. Try to limit their free ranging to when you can be there to watch out for them. Otherwise a covered run is their best protection from flying predators.

Know the silkie predators in your area and design your coop with them in mind.  If your predators are diggers like fox, make sure that you have buried hardware cloth around your run. If you have trouble with weasels or mink, make sure that all small holes are plugged up and windows are secure with hardware cloth.  Larger animals such as bear will need electric wire around the outside.

If you don’t want to build a coop yourself, there are a few coops that are available for sale that are good for silkies. Look for something that is all one level such as this.  The smaller the ramp the better. Coops that are described as rabbit hutches are often on one level .  Look for sturdiness in these pre-made coops that can withstand the elements and predators.  If you live somewhere with a cold climate, you will need to insulate and possibly have heat lamps.

For tips and tricks for raising outstanding silkies check out our Chicken Learning Center at VJPPoultry.com .  VJP Poultry is an NPIP and state inspected hatchery located 30 miles north of St. Paul.  We hatch out silkies all year long so we always have stock available.  Like us on Facebook to get weekly updates on what we currently have for sale.

Victoria J. Peterson

20180603_113007

How To Prevent Chick Deaths During the First Week of Life


20170518_104519
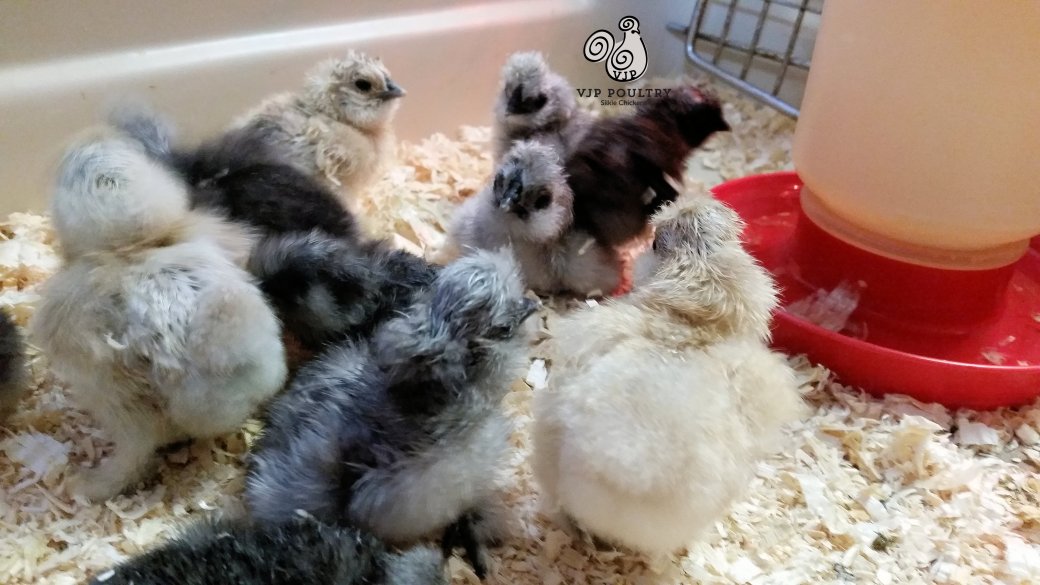
One day old chicks are so irresistibly cute when they first learn to eat, drink and move around. First time chicken owners are drawn to the sweetness of a baby chick and make rash purchases before realizing that newborns are more fragile than they think.  There is a huge difference between a chick that is one day old and a chick that is one week old.  Truth be told, a baby chick is much more apt to die in that first week than at any other time in its life.
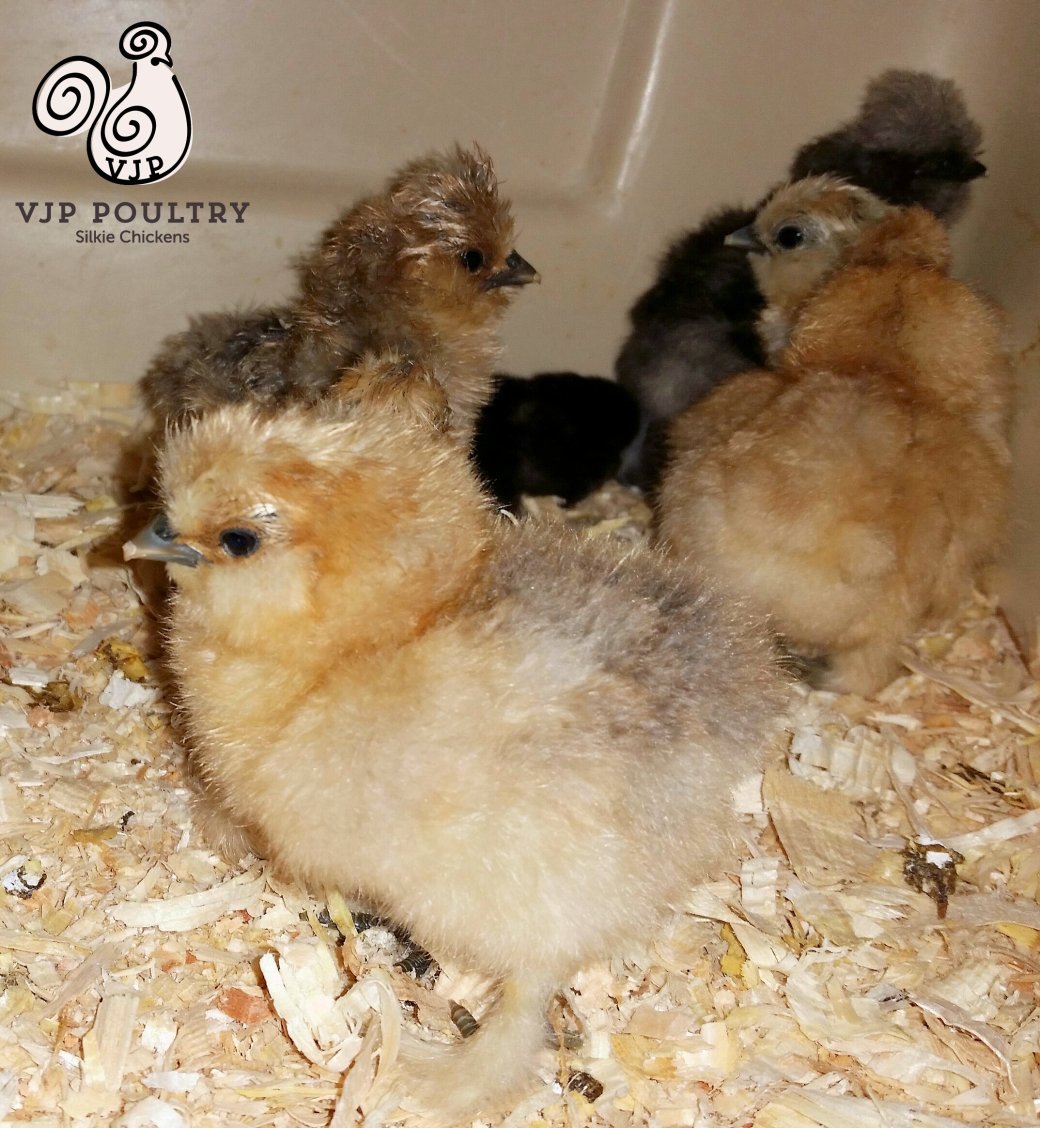
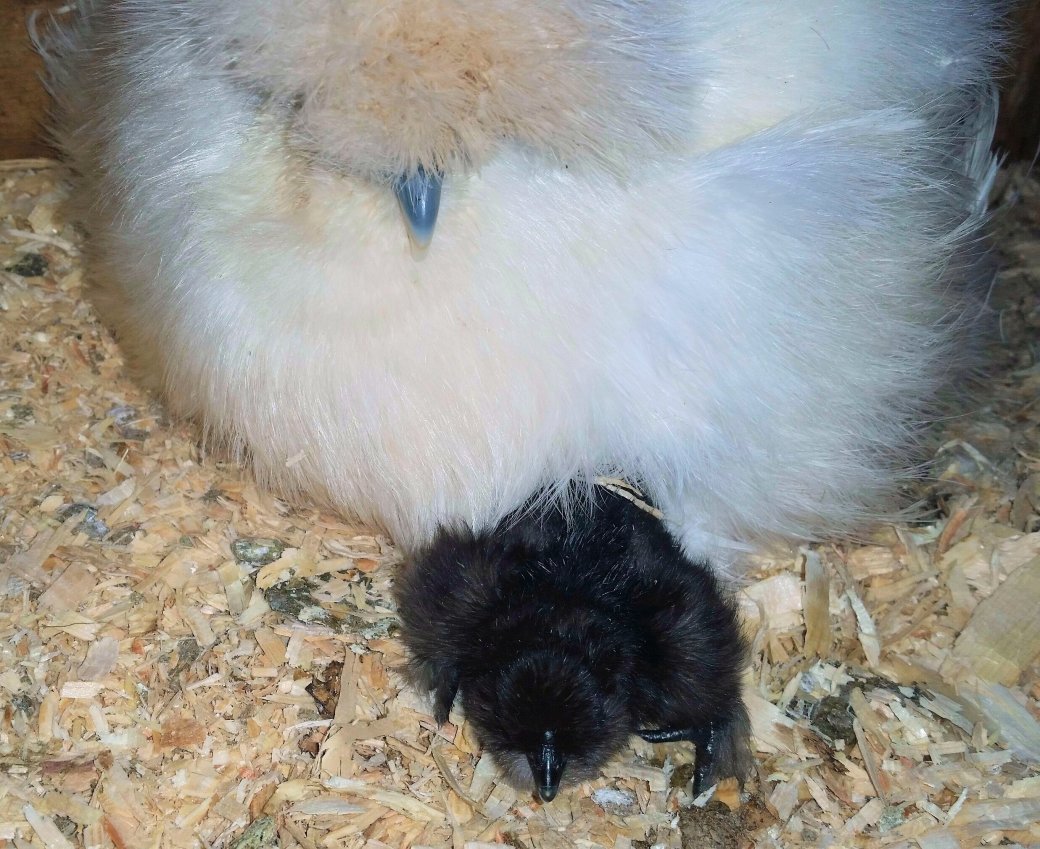
Some don’t make it to the point of hatching out. Lethal genes or creeper genes can cause chicks to die during development. This is a genetic trait that certain breeds have. Some will make it to the hatcher and then die before hatching due to humidity and temperature issues.

When a clutch of eggs is hatched the chicks that hatch first are usually the strongest and healthiest.  They have no trouble zipping around that shell and breaking free. If the chick is a late hatcher it has been my experience that they have more trouble. They are prone to leg issues or even need to be helped out of the shell.  They tend to be stickier as well and have a harder time fluffing out.  Leg issues include straddle leg or even having a hard time standing up on their feet.  Right from the beginning you have some chicks that are just healthier and stronger than others.

Hatching out too quickly or often when being helped out of the egg, can lead to unabsorbed egg yolk. The umbilical cord can also end up hanging out. Pulling on it can cause the intestines to pull through.  Sometimes by helping it hatch you are giving life to a chick that may not end up living very long. Chicks that have a red or sore looking umbilical area should be watched for infection.

Water and food should be offered to chicks within the first 24 hours.  Hatcheries that ship chicks often rely on the fact that chicks can live off the energy from their egg  yolk for three days. Chicks will become dehydrated if not offered water and will be healthier if they start eating sooner. Shipped chicks have a higher death rate than chicks bought from local breeders or raised by a broody hen.  Some hatcheries will include Grogel to their shipping boxes to help chicks stay hydrated.

By day 3 or 4 chicks are no longer receiving energy from their yolk.  Some may begin to die after the third day.  They will close their eyes and become lethargic.  Then they die.  Losses of baby chicks almost always occur in the first two weeks of life.  A mortality rate of 1-5 percent is considered normal for a hatch.  Anything above 5 percent is abnormal.  Failure to thrive is a very real thing and young chicks often die leaving us wondering what has happened.

One of the biggest chick management factors for early death has to do with brooder temperature.  Most people use a heat lamp and bulb for small groups of chicks.  You adjust the temperature by raising and lowering the heat lamp over the brooder. Often the brooder ends up being much too hot.  Too high of temperature can lead to dehydration. The body of a young chick is 70 percent water. A water loss of 10 percent will cause death.  Pasting up, which is poo that sticks and covers the chick’s vent, is often due to too high of temperature in the brooder.  Many chick deaths occur because their vents have become plugged up with dried poo and they can no longer eliminate.

Low brooder temperature can also lead to deaths in young chicks.  If they are too cool, they can become chilled and develop pneumonia. Chicks that huddle together can ultimately smother the weaker ones. Pasting up can also be caused by too cool of temperatures. Chicks will let you know they are too cold by huddling under the lamp and making very loud cheeping noises.  Too hot and they will gather in the corners, panting and lying down. Transitioning from too warm to too cold back and forth is also a cause of pasting up and ill health.  Any transition can cause stress which can lead to death.

I recommend something with radiant heat like a sweeter heater  or an ecoglow as a heat source. The radiant heat is safer than a heat lamp bulb and will give a constant temperature.  For more information check out Brooder Heat Sources.  Make sure that you adjust  the brooder temperature 24 hours before introducing chicks to it. We like to use a temperature gun for accurate readings.

The food and water you choose to give your chicks can also lead to early mortality. Chick starter that is old and has started to get moldy can cause death. Check for a date on the bag. Chick starter can often come in pieces too large for a newborn chick which could cause them to choke. I like to take my chick starter crumble and grind it up even smaller in a coffee grinder. I feel that this helps with digestion and with pasting up as well.  Do not give newborns a lot of other foods besides the chick starter. Treats should not be given until they are over one week old.  Anything besides chick starter, yogurt or scrambled eggs needs grit (sand) in order to grind it in their crop.

Water that is too salty can lead to early death.  I like to add Rooster Booster with vitamins, electrolytes and probiotics to my water. I also add apple cider vinegar with the mother as well to the water.  Make sure that you have your feeders and waterers up as high as the backs of your chicks. The chicks tend to kick shavings and poo into them which can plug up the waterers and contaminate the water. Change water daily and clean and sanitize feeders and waterers weekly.

You may need to show your young chicks how to drink.  Mother hen usually gently pushes their beaks into the water and you can do the same. If you pick up a chick and it feels much lighter than the other chicks, it has probably not learned how to eat or drink yet.  I will dip their beaks into the water first and then dip them into their feed so that the chick crumble sticks to their beaks.

Make sure that there is adequate air ventilation in and around your brooder. Toxic gasses such as ammonia, carbon monoxide and carbon dioxide can kill small chicks if they are exposed to them.  Chicks require a minimum 100 percent air exchange six times in a 24 four period. This should not be a cold draft but continuous movement of air in the brooder.  A plastic tub with high sides does not have a lot of air movement allowed.  One problem encountered with poor air movement is sinusitis. This is caused by excess humidity and ammonia released from chicken poo. Remove damp bedding which causes pathogenic micro organisms  to multiply  and large clumps of poo in the brooder and spread a thin layer of bedding on top of the old. Once a week change out the bedding and sanitize the brooder with something like Oxivir.

Construct your brooder to keep out predators.  A screen should lay over the top to keep out insects, vermin, dogs and cats.  If you have small children who like to handle the chicks make sure that they are supervised.  Newborn chicks can jump out of your hands. Injuries caused by crushing or squeezing too hard are a very real problem with little ones. I would keep handling of chicks less than a week old to a minimum. Any injuries can lead to infection and should be treated with Vetericyn spray.

Avoid having too many chicks in a brooder. Overcrowding is one of the number one causes for early death.  Trampling, starvation and damp litter are caused by overcrowding.  Chicks with vaults like silkies or polish need to be especially careful with having too many pen mates. A well placed peck to the head will result in death. Any drop of blood or open bare spot is an invitation for the other chicks to peck at it. Loss of down caused by pasting up attracts others in the pen to continue to peck at it until bleeding occurs. Separation is sometimes necessary.

Practice biosecurity around your brooder. Wear gloves around your adult chickens and wash your hands before handling the newborns. Wear different shoes or boots around your adults than you do around your brooder.  Newborns do not have well developed immune systems.  You will be bringing in germs and diseases on the bottoms of your feet. You may also bring in mites from the outside coop.  Young chicks are very prone to an attack by mites which will result in death if not dealt with. I use the powder very sparingly if I think that they have been exposed.

Light is important in your brooder.  Chick activity is greatest in bright light. They need to be able to see the food and water. Lights should be low or off at night. If you use a heat lamp bulb, choose one with an infrared coating. This helps with pecking and at night can help simulate darkness.

Coccidiosis can be a killer during the first week of life. Because of possible exposure to the disease people will use medicated chick starter.  I would only use it if you think that your chicks are being exposed. If they are inside and you practice good brooder hygiene you probably won’t need to worry. Medicated feed can rob your chick of some vitamins.

Some items to have on hand just in case of a problem would be Save-a-chick, which goes into their water and provides electrolytes.  There is also one which adds probioticsNutridrench can give a boost to a lethargic chick but read directions for use with young birds.

Chicks under one week old are very fragile. If at all possible try and purchase birds over one week old. They are stronger and sturdier and have a much better chance of survival.  They know how to eat and drink and the pasting up usually ends after the first week.

For tips and tricks for raising outstanding silkies check out our Chicken Learning Center at VJPPoultry.com .  VJP Poultry is an NPIP and state inspected hatchery located 30 miles north of St. Paul.  We hatch out silkies all year long so we always have stock available.  Like us on Facebook to get weekly updates on what we currently have for sale.

Victoria J. Peterson

20180522_103733-1