 Almost everyone has had a chick which has had a piece of poo sticking to its behind. We try to remove it and end up making an even bigger mess by smearing the poo around the poor chick’s backside. It ends up drying hard like cement or worse capping the vent causing a small explosion of backed up poo when finally removed. There must be a way to prevent all of this from happening again.
Pasty Butt or “pasting up”, is a condition in which the little chick’s poo gets stuck to the vent (small slit on chick’s back end) and “stops up” the chick like a cork. The chick can’t eliminate its poo and the poo gets backed up into the body of the chick. This can kill the chick fairly quickly if not removed.
If I see that a chick is plugged up, I will carefully remove the piece of poo with my fingernail. I gently tug, being careful not to hurt the chick. This works best when the poo is dried. Some feather down may come off with the poo using this method. Sometime there is too much poo and it is too wet to remove it with your fingernail. I will then use a Q-tip and warm water to soften the poo until it comes off. The disadvantage with this method is that now the chick has a wet behind and can quickly become chilled. I gently dry it off with a towel or paper towel and place it back under the heat lamp to finish drying.
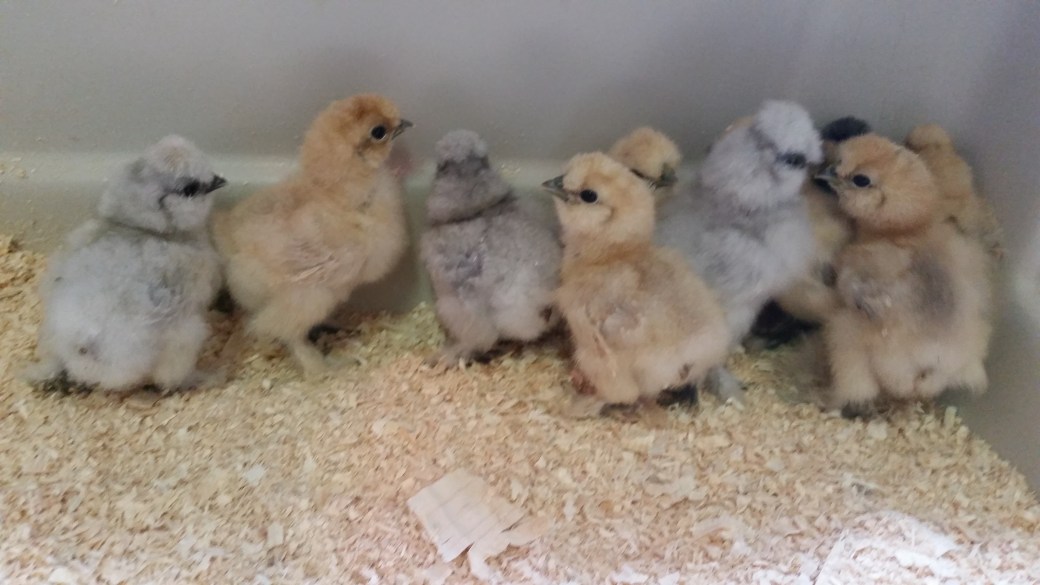
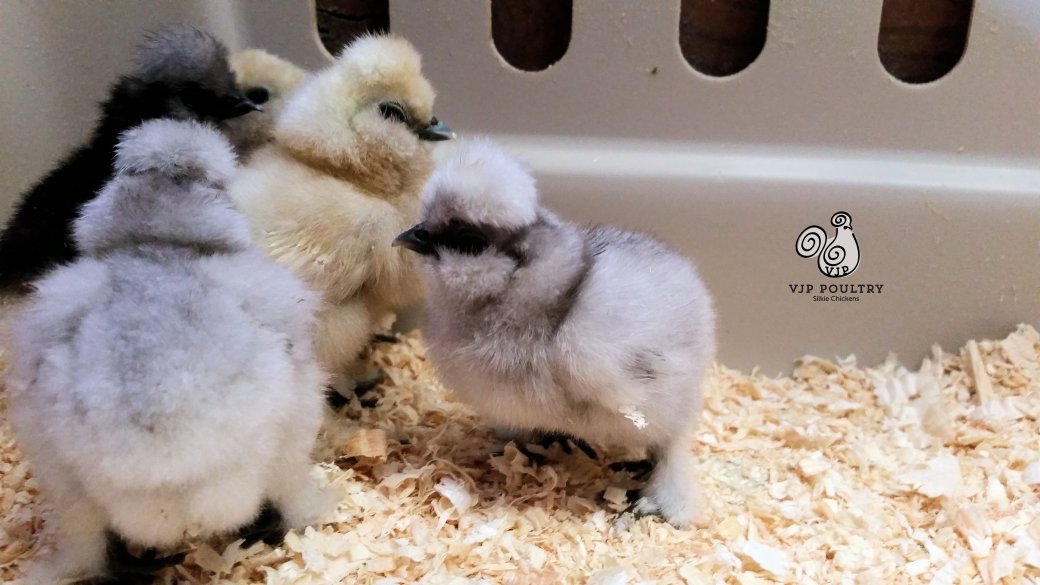
Pasty Butt is common in chicks sent in the mail or in crowded feed store bins. It tends not to happen in chicks who are hatched and raised by a broody hen. Their temperature is regulated by her feathers and she will take care of making sure that their behinds are clean.
When you’ve hatched out chicks in an incubator or have had chicks arrive in the mail, you must take the place of the mother hen and clean the chicks yourself. The new baby chicks will not be able to clean themselves until they are at least a week old. They are not capable of reaching around to that spot to clean it properly. This will be your job as surrogate mother hen. You will need to check your chicks regularly for the first week of life. After the first week is finished pasty butt is less common and they are better able to keep themselves clean. Their bodies have also become better regulators of heat and their digestive system is better able to handle new food.
When checking your chicks, don’t confuse the vent with the belly button. The vent is immediately below the tail feathers. It is a thin line that opens and closes. This opening is also through which the eggs will come out of the hen’s body when she starts to lay. The belly button is between the vent and the chick’s legs. There may, perhaps, be a piece of the umbilical cord still there. Don’t pull on it as sometimes intestines can still be attached to it and you can end up pulling out the baby chicks bowels. The cord will drop off itself in a day or two.
You may wonder what causes pasty butt in the first place and why do only some chicks suffer from it. Silkies in particular seem to get it quite a bit. This may have something to do with their extra fluffy down. The poo seems to stick to it quite easily. It may help to put a dab of vaseline jelly with a Q-tip right below the vent line. The poo is then unable to stick to the down.
Temperature regulation has a lot to do with whether your chick will develop pasty butt. Too hot or too cold conditions will bring on an outbreak. Chicks that are sent in the mail often are left in cold mail rooms where they may become chilled. If mailed out in the summer they may also suffer from too warm of conditions.
250 Watt Heat lamp bulbs can often put too much heat into your small brooder. Try a smaller watt bulb or use a different heating source. I like the Ecoglow or the Sweeter Heater. They both mimic a mother hen by creating a warm cave where the chick can feel protected. I have not found them to be too warm. Radiant heat does not heat the air but does heat the chick and bedding. Watch your bird’s behavior. They will let you know if they are too hot or too cold. Chicks that are too cold will huddle up together and make loud cheeping sounds. Chicks that are too warm will spread out to the corners of your brooder to try and get away from the heat source. For the first week the brooder should be 90-95 degrees. For more information check out How to choose a Heat Source for your Brooder.
Placing the chick in stressful situations will also bring on pasty butt. Overcrowding in the brooder can bring on stress for baby chicks. Too many chicks can trample each other in their frenzy to find the best spot in the brooder, best place to get food or best place at the waterer. Stronger chicks will walk over weaker ones. Smaller chicks can get squished into corners. Keep your numbers in the brooder manageable. Newborn chicks need about six square inches of space each. They also need space in which to get away from the heat source if they need to. More information about brooder size is at Choosing the Perfect Brooder.
Other things that can cause stress are loud noises and frequent handling by over eager children. The first week of life should be a time of calmness with no major transitions. They are very cute to look at but when you sweep your hands into their brooder to scoop them up all they are thinking about are flying predators. They instinctively know that they should fear things that come from above. Try moving the brooder off the floor and onto a table where your presence is not so threatening. Keep the brooder in a quiet area. Limit your handling of the chicks during that first week. There will be plenty of time later to cuddle with your chick. Chickens do not imprint like some other birds. There is not need to try and tame them that first week.
Baby chick’s first food should be “Chick Starter” crumbles. The size of the crumbles can vary. For the first week of life I recommend grinding the chick starter up so that it resembles powder. I use a coffee grinder. I think that this is easier to digest than some of the large crumbles that are in some packages. Pasty Butt poo is sometimes very loose and runny. Oatmeal can firm it up. I take old fashioned oatmeal and grind that up in a coffee grinder and then add it to the ground up chick starter. I make a batch that is 1/4 oatmeal and 3/4 chick starter. They seem to really like it and tend to eat more food with the oatmeal in it. I will also sprinkle some chick grit (sand) on top of it, kind of like just adding a sprinkling of salt to something. This will also help to firm their poo up as well. Grit can also be offered in a separate dish.
Treats should be given very sparingly that first week. I wouldn’t give them any treats beyond ground up oatmeal, hard boiled egg yolk, or perhaps some plain yogurt. Pasty butt is often a result of the chick switching from nutrients found in their egg to the new food out in the world. Stick with the chick starter for now. There is plenty of time for treats after they are a week old and their digestive systems can better handle it.
I do add some things to their water. Probiotics and vitamins can give them a good start. Rooster Booster has both vitamins and probiotics . It can be added to water or sprinkled on feed. Probios is also a choice for adding active cultures to your chick’s gut. Gro – 2 – Max is a product that is organic and provides probiotics for your water .I also add a splash of apple cider vinegar to their water for gut health.
Be on the lookout for listless behavior. I notice that my chicks move and walk differently when they have pasty butt. They do not feel well when they are plugged up. Remember that temperature, stress and food each play a role in your chick’s health.
For tips and tricks for raising outstanding silkies check out our Chicken Learning Center at VJPPoultry.com . VJP Poultry is an NPIP and state inspected hatchery located 30 miles north of St. Paul. We hatch out silkies all year long so we always have stock available. Like us on Facebook to get weekly updates on what we currently have for sale.
Victoria J. Peterson


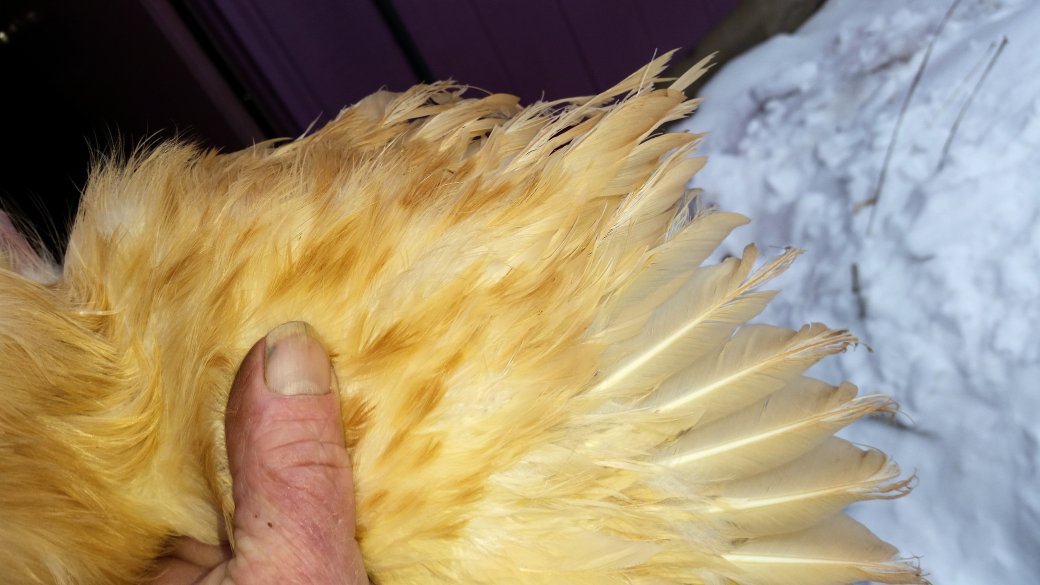 There has been lots of discussion about the difference between a show quality silkie and a pet quality silkie. Some of that has to do with their wings. I am going to talk about a few different problems that the silkie breed is known to have difficulties with as far as wings are concerned.


