How To Winterize a Chicken Coop Built From a Kit

20170919_130948.jpg     It is never too early to start thinking about winterizing your coop.  Most coops fall into two groups. One type of coop is made from existing buildings such as part of a barn or an ice house.  DIY coops could be put in this category too as they were all probably insulated when they were built.

The other group of coops are the kind that are built from a coop kit.  You can order these kits online or purchase them at DYI big box stores.  They turn out to be cute, little coops that hold less than 10 chickens.

The problem is that these coops do not come insulated.  You may have bought them in the spring when it was warm and now we are headed towards winter.  What can be done to them to help them remain a cozy home for all your birds?

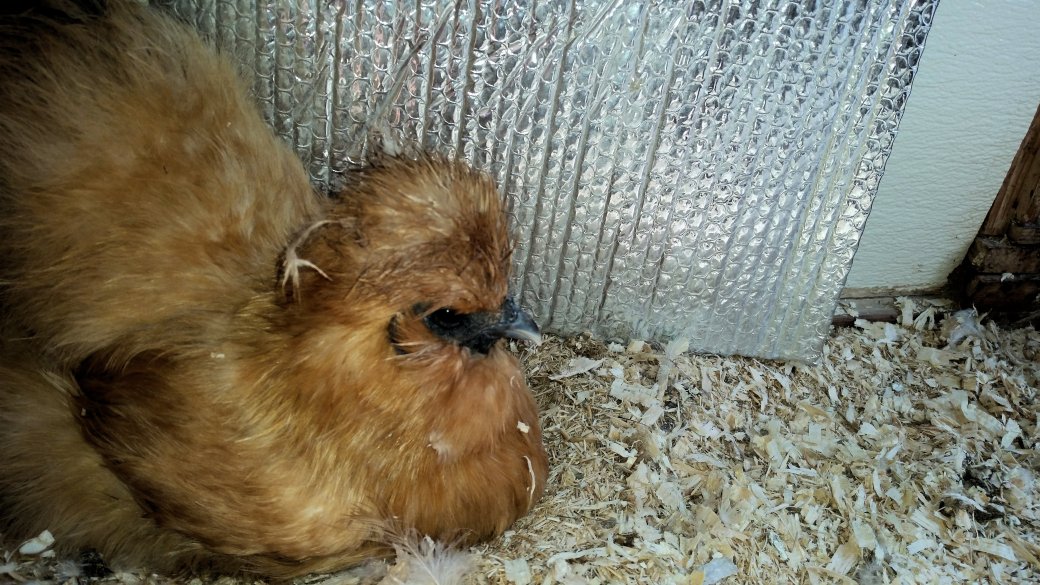
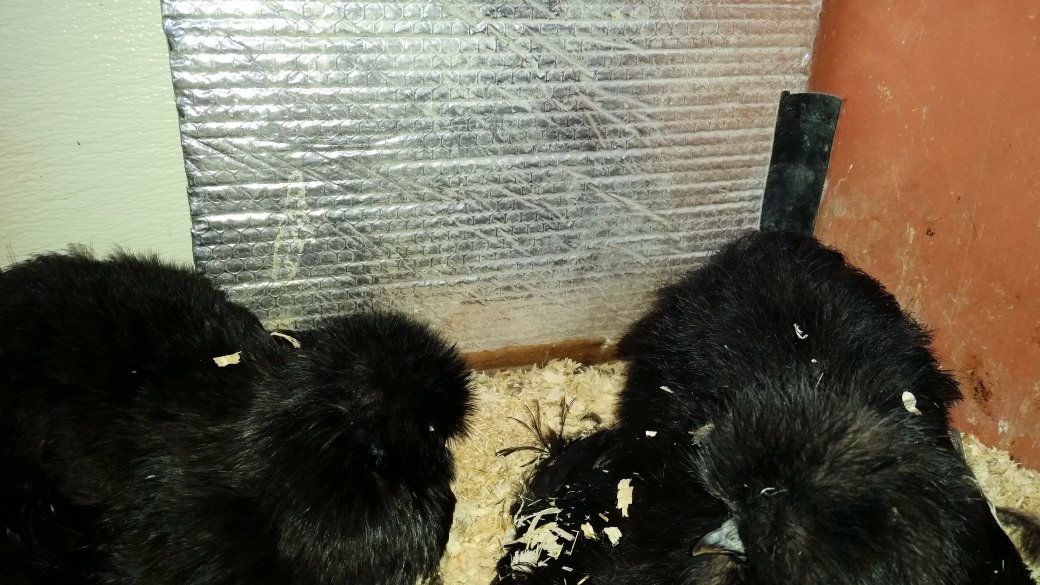
The first thing that comes to mind is insulation.  I would suggest using reflective insulation.  You can easily measure, cut and attach the insulation using a staple gun or with spray contact adhesive.  Just cover the sides and the ceiling of your coop with the reflective insulation and tape the seams with aluminum foil tape.

I have found that the chickens do not pay a whole lot of attention to the shininess of the insulation.  They will, however, peck at the pink insulation or the styrofoam  insulation and eat it as well.  That is why I do not recommend using that kind. The birds have never pecked at the silver insulation and it has worked well for us.

Make sure that there is adequate ventilation across the top part of the coop.  You do not want drafts at the bottom where the silkies sleep, but you do want there to be air exchange inside of the coop.  Moisture build up is not good for the birds and causes respiratory issues.  If you see a frost build up inside the coop on the walls and doors, then you need to have the windows opened wider.

I would also suggest wrapping the run in clear plastic.  The plastic cuts down the sharp, cold wind inside the run and keeps the snow out.  Silkies do not like walking on the snow.  You want your birds to have fresh air, so I don’t wrap all of the run.  Make sure you do the north and the west side as that is where the winds are the strongest. I do not wrap the door.  When spring comes, take down the plastic and save it for next fall.

You will need some way to keep the water dish from freezing.   Some people use heated dog bowls.  We use heated bases with galvanized metal waterers on top.  You will need to run aheavy duty electrical cordout to the coop to run either of these water options.

Chickens generate a lot of body heat when they are together.  Silkies tend to huddle up together to keep each other warm.  Heat is also generated from the heated water bases.  If your coop is small, this should be enough to keep things warm.20170919_131219

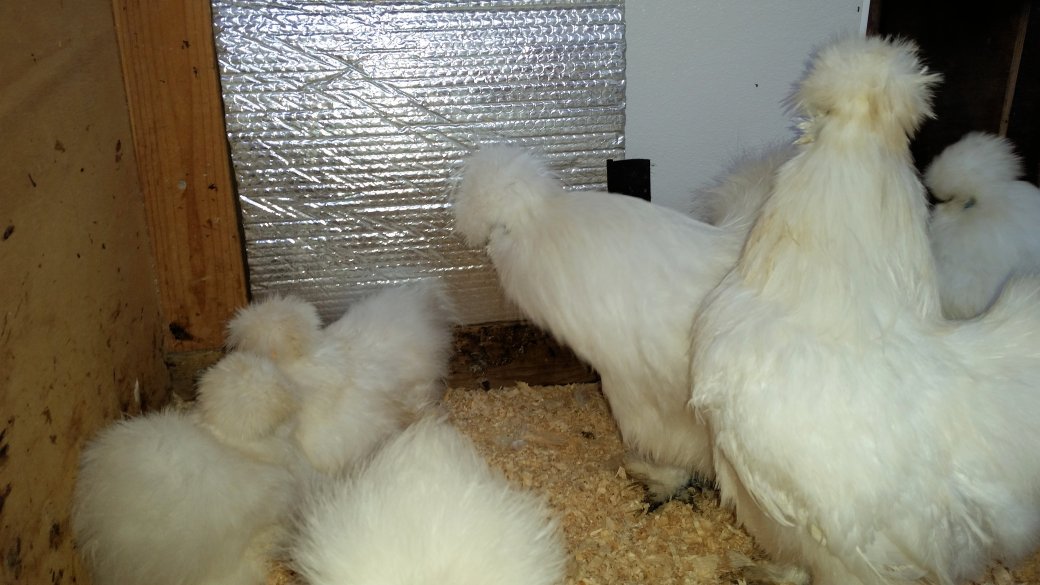
I do not think it is healthy for a chicken to go from hot to cold temperatures every time they go out in the run.  Both places should be about the same temperature. If you use the insulation and the heater bases, these small coops should be warm even with a small number of chickens.

For tips and tricks for raising outstanding silkies check out our Chicken Learning Center at VJPPoultry.com .  VJP Poultry is an NPIP and state inspected hatchery located 30 miles north of St. Paul.  We hatch out silkies all year long so we always have stock available.  Like us on Facebook to get weekly updates on what we currently have for sale.

Victoria J. Peterson

20170919_131100

Silkie Starter Kit – What You Need Before the Chicks Arrive

20170330_130644 As with any pet, it is important to plan ahead and purchase any equipment and supplies you will need before you bring home the actual animal.  This is especially important with baby chicks.

If you plan on purchasing newborns or one week olds, you will first of all need to have a heat lamp and a heat lamp bulb to go with it. The heat lamp should be up and running before you bring the chicks home so that they can immediately warm to the right temperature after their car ride.  When setting the heat lamp up, do not rely on just the clamp that comes with the fixture.  Use mechanics wire to hang and secure the lamp over the brooder.  The lamp should be able to be raised or lowered as needed to keep the chicks at the right temperature. This temp should be around 85-90 degrees when they are very young.  Use their behavior as a guide. If they are too cold they will huddle under the lamp and cry.  If they are too warm they will try and get as far away from the bulb as possible.  You want them comfortably moving to all parts of the brooder.

I bulb should be a red infrared variety.  I think those are the best so that the chicks can experience a night time cycle.  It can also keep down the pecking of each other that can occur when there is the stress of constant daylight.

Any type of a tub can become a brooder.  You will need to line the brooder with animal bedding to absorb moisture.  I use pine shavings.  I change the bedding about once a week and throw the used bedding on my garden to act as a mulch and fertilizer.

Your silkie chicks will also need a feeder and a waterer.  Quart size is best when they are small chicks.  Later you can get the gallon sized.    I like to add a couple of things to the water for the silkie chicks.  Vitamins with electrolytes can be added to give them a good start.  I also add a splash of apple cider vinegar to help with digestion and general health.

Young chicks should be given chick starter until they are at least 10 weeks old.  They can eat it longer than that, but you may want to switch to a grower feed.  Chick starter is high in protein.  Use medicated until they are around six weeks old and then switch to regular chick starter.  Medicated can help their developing  immune system to fight coccidiosis.

On my website near the top, there is a page called Silkie Supplies. There are some suggested products there to guide you in deciding what you need to start in silkie chickens.  Good luck with your new pets!

For tips and tricks for raising outstanding silkies check out our Chicken Learning Center at VJPPoultry.com .  VJP Poultry is an NPIP and state inspected hatchery located 30 miles north of St. Paul.  We hatch out silkies all year long so we always have stock available.  Like us on Facebook to get weekly updates on what we currently have for sale.

Victoria J. Peterson

20170417_072559

Silkies For Sale – 8/30/17

Silkies and Incubators – 1/31/17

20170122_143349
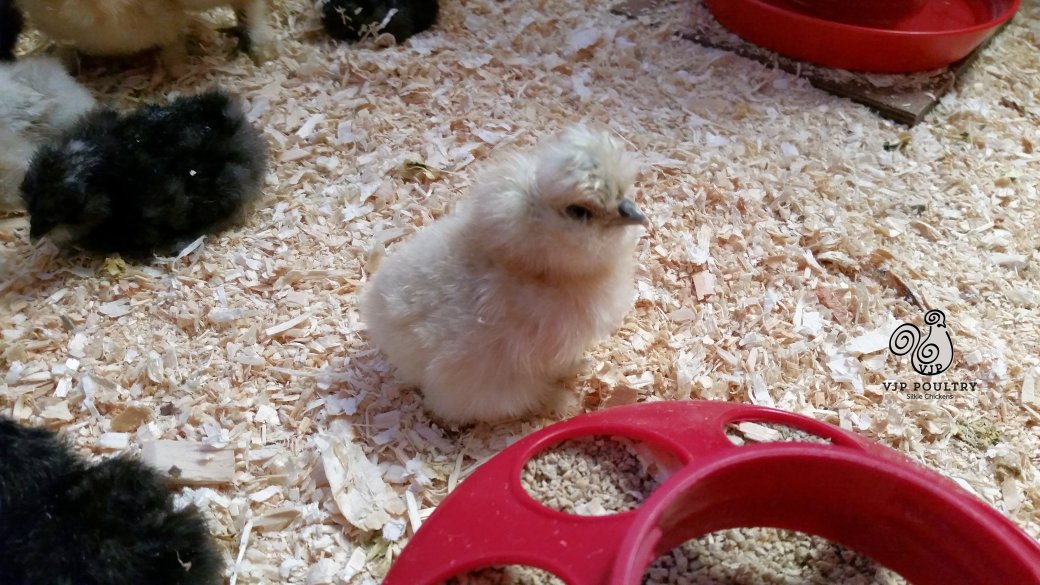
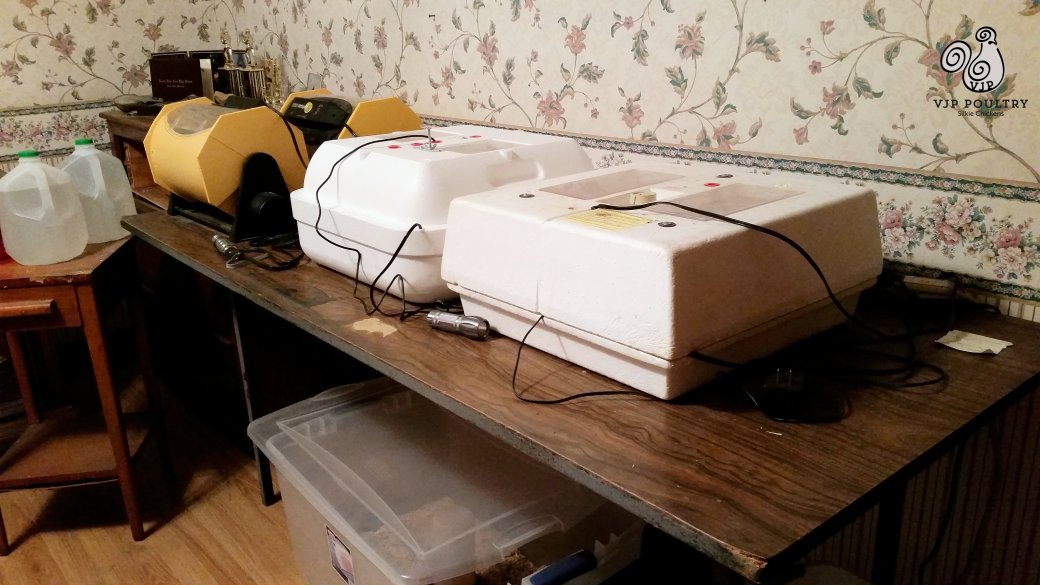
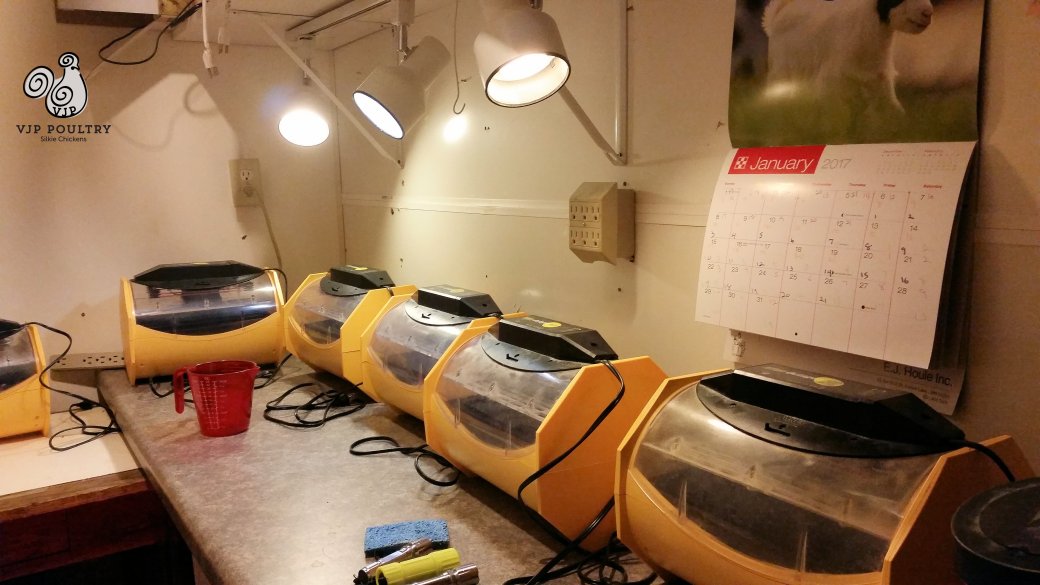
“What could you do today that would vastly improve your life three months from now?” That was the inspirational message on my computer screen. “Buy more incubators ” , was my instant thought. I knew that I would be so much happier in three months if I ordered some incubators today. Now I had some hard decisions to make as there are many incubator choices out there. I asked for help from others on the web and I had responses from around the world.

I currently own seven Brinsea Octagon 20 Econs, one Hovabator, two Little Giants and three Farm Innovators. Some are simply wonderful and others are a piece of junk.

The Brinseas are my pride and joy. They run like a charm and keep perfect temperature. They are small but you can get between 28-35 eggs in them if you place them and balance them just right. Cleaning is a breeze. The base is solid plastic so you just need to wash and disinfect. I take an air hose and blow out the top part when dirt and dust get in them.

I use three of my Octagons as incubators and four of them are hatchers. I can easily hand turn the Octagons if need to by lifting and turning the whole machine. It’s nice to have the automatic turners but I have had a hard time repairing them when they stopped working. Hand turning is easy and I just set an alarm on my phone to remind me when to turn.

I have had the fans stop working on the Brinseas. I sent away for new fans and it was an easy fix. I have had to send the whole top part back to be repaired by the Brinsea company. They fixed it and returned it to me free of charge. I always fill out the warranty information. Brinsea has a three year warranty on their products.

I also have a Hovabator. It is a foam incubator but it works wonderfully. It has an automatic egg turner in it and you can just fill it and forget it. It will hold temperatures quite well. I have never had to repair it or adjust anything on it.

Now we come to the two Little Giant foam incubators. They were both originally still air models. We added a computer fan to circulate the air. One of them works great but the other one is a little iffy. You do need to take temperature checks periodically. A little  bit of babysitting is needed with them.

The three Farm Innovators have not worked at all for me. There seems to be big differences in temperature between the corners, middle and edges of the incubator. Temperature spikes have occurred. I find that they also leak water.

In a pinch, I will use a silkie hen as an incubator. I almost always have a broody who will be more than willing to sit on eggs for me. I have had good luck hatching with them but not such good luck raising the babies out in the  coop. Too many things can happen to them out there. Silkies are known for being able to hatch any chicken egg, duck egg and pea fowl eggs. They are great little mothers.

I plan on ordering one more Brinsea Octagon this month. I am expecting more eggs this year and as the days get longer the hens will begin to lay more. I don’t want to be surprised by my hen’s egg production and not have enough incubators to take care of them all. VJP Poultry is happy to provide enough silkie chicks for all come springtime.

For tips and tricks for raising outstanding silkies check out our Chicken Learning Center at VJPPoultry.com .  VJP Poultry is an NPIP and state inspected hatchery located 30 miles north of St. Paul.  We hatch out silkies all year long so we always have stock available.  Like us on Facebook to get weekly updates on what we currently have for sale.

Victoria J. Peterson

20170122_143240

Silkies for Sale – 1/22/17