Last fall I purchased eight new heated water bases to be used under galvanized waterers in order to keep my water from freezing in the chicken coop. I began to notice that the water was alway spilling over and making a wet mess of the pine shaving bedding. This seemed strange because the water never overflowed in the summer. I ended up buying pizza trays to place under the metal waterers. This was successful but the pizza trays had to be drained off every day which was extra work.
Then I began to notice that the water was beginning to become very warm – hot even. I could see the steam cloud raising up from the waterer when ever I changed out the water. I put my finger in the water and it was like very hot bath water. I figured that the water was around 100 degrees F. The water should have been between 32 F and and 45 F.
Chickens do not like to drink hot water. They wouldn’t wait until I changed out the water and then they would descend on the cooler water. There wasn’t an empty spot all the way around the waterer when the cool water was added to it.
As the water was heated, the water expanded and was forced over the rim. This created the situation with the wet bedding which had to be replaced. This would happen every time new water was added.
I did a little research and read some reviews of the product. I noticed that quite a few people were having the exact same problem that I was having – overheated water and water expanding and spilling out.
Dennis troubleshooted the situation and found that the snap disc thermostat was defective which was causing the base to operate at too high of temperature. He purchased new snap disc thermostats that turn on at 32 F and off at 45 F. You actually can buy the thermostats at different temperatures but these are the correct ones for the water bases.
Here are the steps for replacing the thermostats:
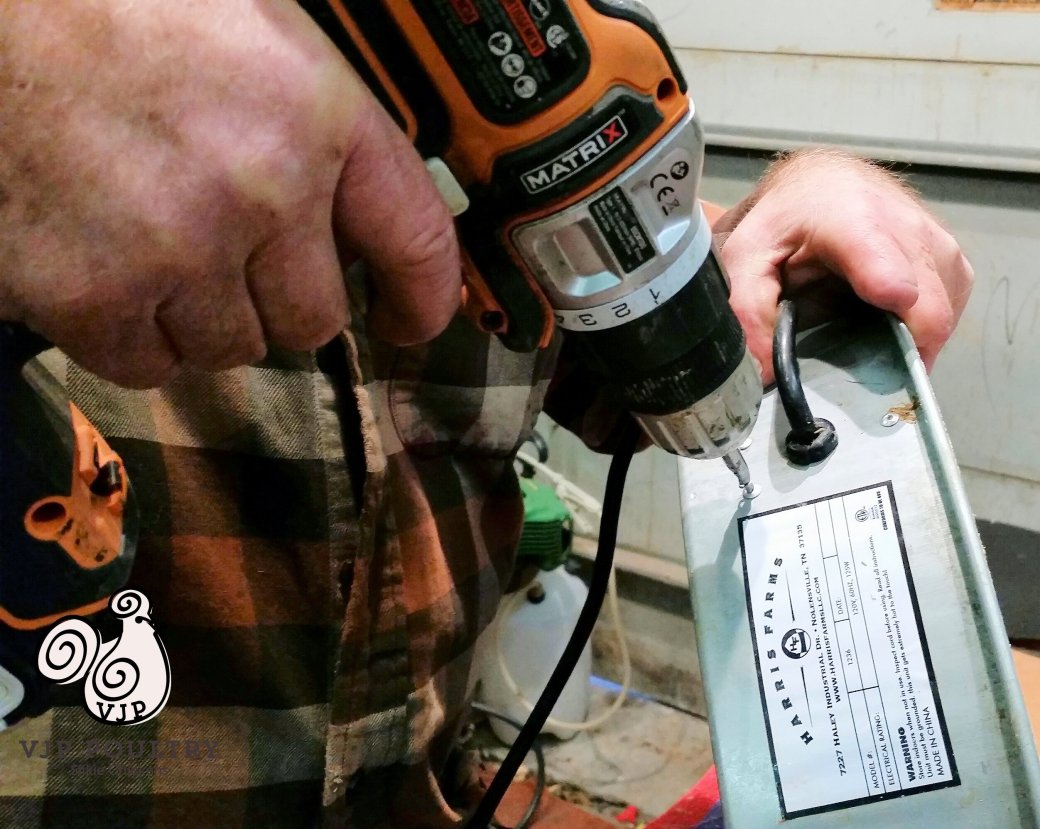
- Flip the Heated base over.
- Us a cordless drill to drill out the pop rivets holding the back plate on. Be sure to mark the placement because we found the holes to be an uneven distance from each other.
- Pry off the back cover with something like a screw driver.
- . Unplug the connections to the thermostat.
- Remove the rivets to the thermostat with a cordless drill.
- Take out the old thermostat and replace it with the new one. Ours had a red casing.
- Fasten the new thermostat with new pop rivets using a pop rivet gun.
- Connect the wires back up to the new thermostat.
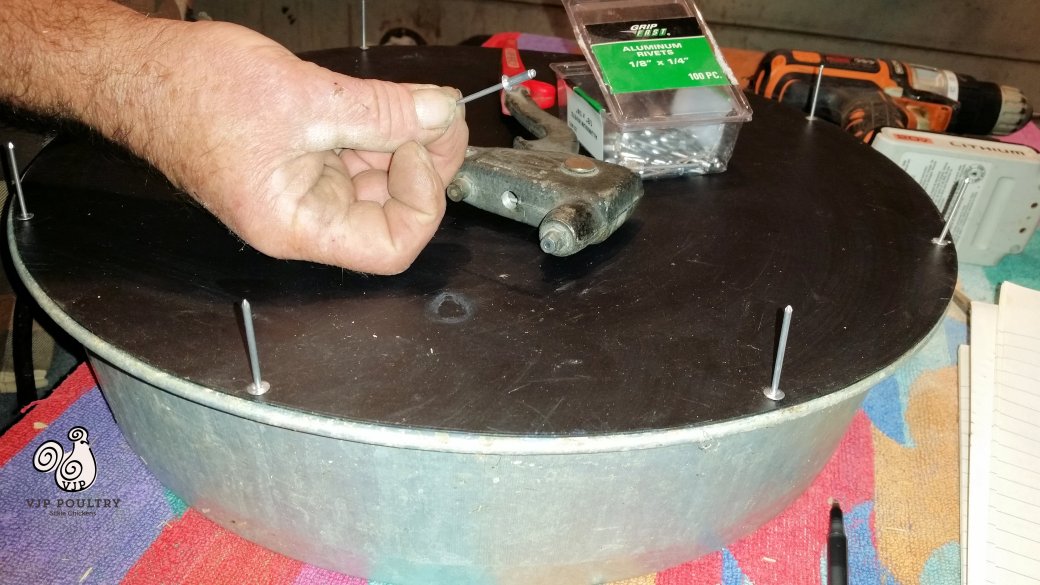
- Using aluminum pop rivets, fasten the protective back cover on the pan. Use the pop rivet gun to do this.
- The little pop rivets go in each hole on the back side.
- End of repair.
 I originally purchased two different brands of heated bases. The Farm Innovators we purchased worked great and we did not have to repair them. The other brand had to have all of its thermostats replaced. All appliances wear out sooner or later. It’s nice to be able to repair instead of having to replace. .For tips and tricks for raising outstanding silkies check out our Chicken Learning Center at VJPPoultry.com . VJP Poultry is an NPIP and state inspected hatchery located 30 miles north of St. Paul. We hatch out silkies all year long so we always have stock available. Like us on Facebook to get weekly updates on what we currently have for sale.
Victoria J. Peterson
 You may not believe it but a normal silkie is probably harboring some worms in their body at all times. A healthy chicken can tolerate a small amount of worms in their system, but it is when a bird is sick or stressed that this can become a problem. If the bird’s immune system is down this can lead to an over population of worms.
 Even if you suspect that one chicken has worms, you should treat the entire flock. It is best to do it twice a year, in the fall and in the spring. You will need to treat the birds twice. Once to get rid of the adult worms and the second time to get rid of the worms that have hatched from eggs since the first treatment.